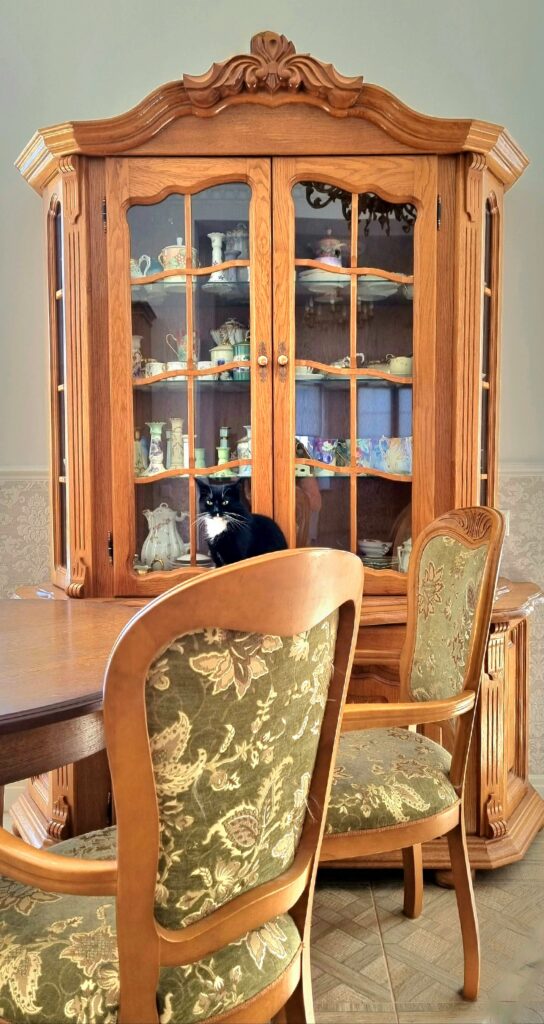
Transform Your Old Furniture with a Chalk Paint Dresser Flip
Are you tired of looking at that old, worn-out dresser in your bedroom? Do you want to give it a fresh new look without breaking the bank? A chalk paint dresser flip is an exciting DIY project that can breathe new life into old furniture pieces. This tutorial is designed to guide you through the process of transforming your dresser using chalk paint, a versatile and user-friendly painting material. With a chalk paint dresser flip, you can create a unique and personalized piece of furniture that reflects your style and personality.
Before we dive into the step-by-step guide, let’s talk about the benefits of using chalk paint for your dresser flip. Chalk paint is a popular choice among DIY enthusiasts because it’s easy to use, dries quickly, and requires minimal preparation. Plus, it’s available in a wide range of colors, making it easy to match your dresser to your bedroom decor.
Materials and Tools Required for a Chalk Paint Dresser Flip

To get started with your chalk paint dresser flip, you’ll need the following materials and tools:
- Chalk paint (choose your desired color)
- Paintbrushes (various sizes)
- Clean rags
- Dropcloths
- Sandpaper (optional)
- Primer (optional)
- Clear wax or varnish
Step 1: Prepare Your Dresser for a Chalk Paint Dresser Flip
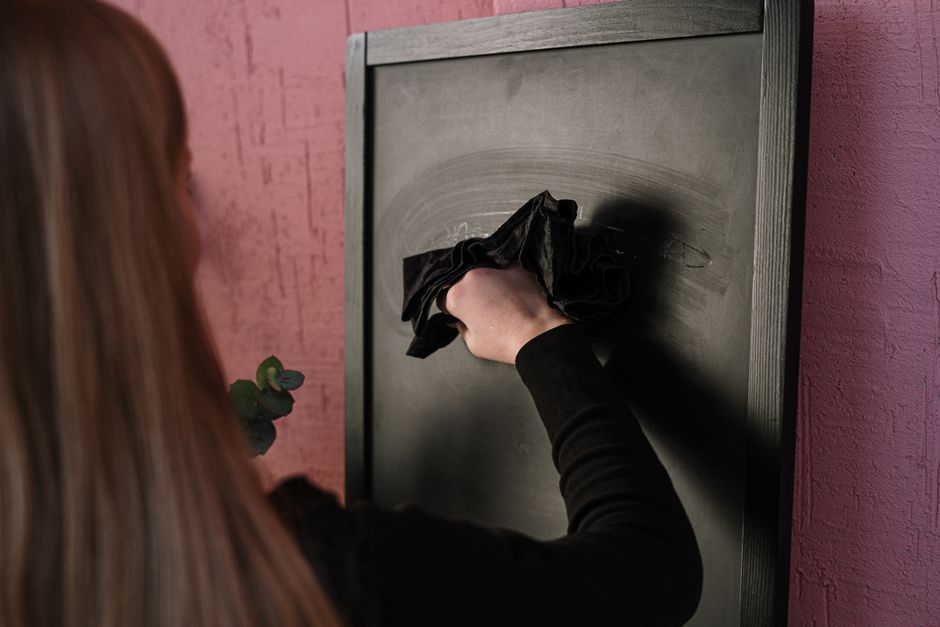
Before you start painting, make sure your dresser is clean and free of dust and debris. Remove any hardware, such as knobs or handles, and set them aside. If your dresser has a glossy finish, you may need to sand it lightly to create a surface for the chalk paint to adhere to. This step is crucial to ensure a successful chalk paint dresser flip.
Step 2: Apply the Chalk Paint
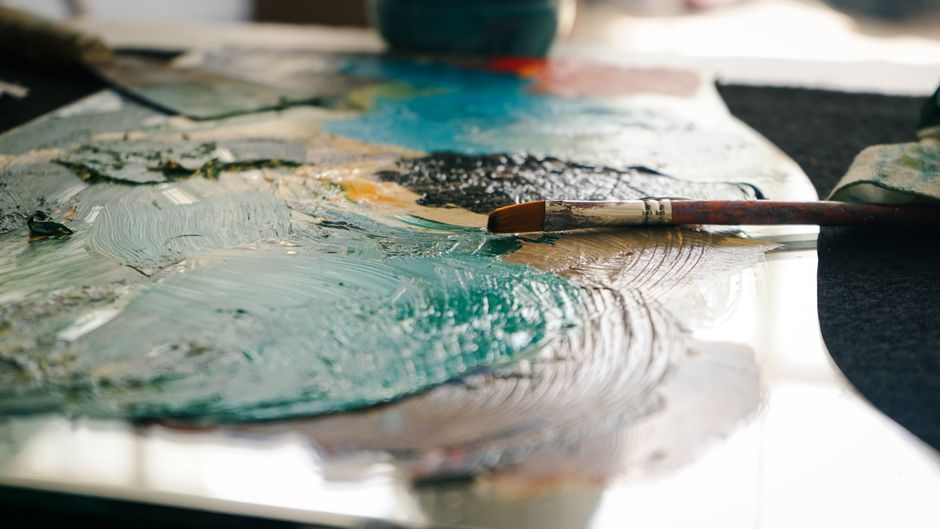
Now it’s time to apply the chalk paint! Use a high-quality paintbrush and apply even coats, allowing each coat to dry before applying the next. For the first coat, you can use a single color, and for subsequent coats, you can experiment with layering different colors. Remember to work in a well-ventilated area and use a dropcloth to protect your floors and surroundings.
Adding Decorative Touches to Your Chalk Paint Dresser Flip

After the first coat of chalk paint has dried, you can add decorative touches to give your dresser a unique and personal touch. This can include painting the handles, adding a border, or using stencils. You can also use chalk paint to create a distressed or vintage look by sanding the paint off in certain areas. Get creative and have fun with this step of your chalk paint dresser flip!
Step 3: Seal the Paint
Once you’ve achieved the desired look, it’s time to seal the chalk paint with a clear coat. This will protect the paint and ensure that it lasts for years to come. Use a clear wax or varnish to seal the paint, and apply it according to the manufacturer’s instructions.
Frequently Asked Questions About Chalk Paint Dresser Flip
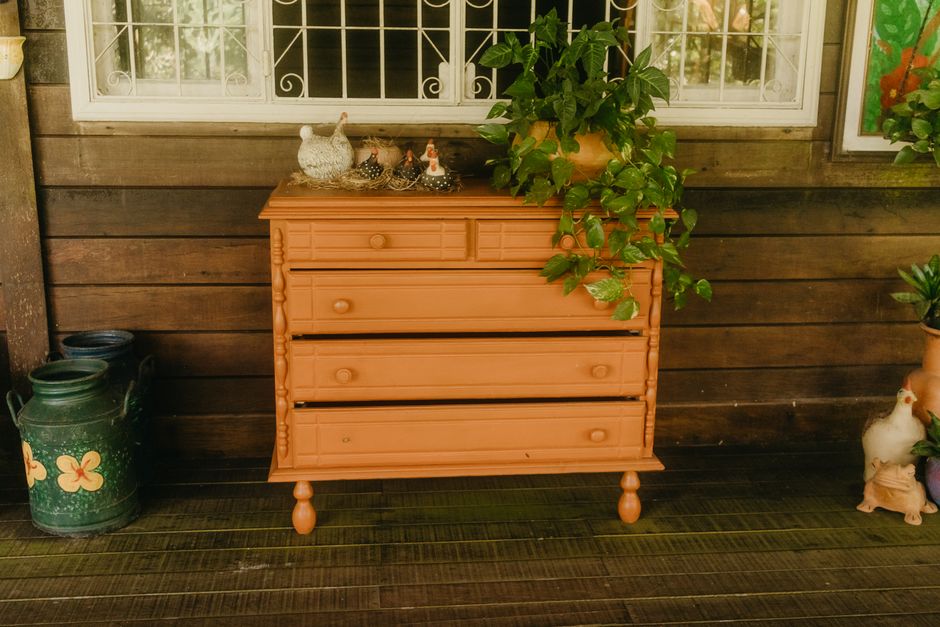
What is the best type of chalk paint to use for a dresser flip?
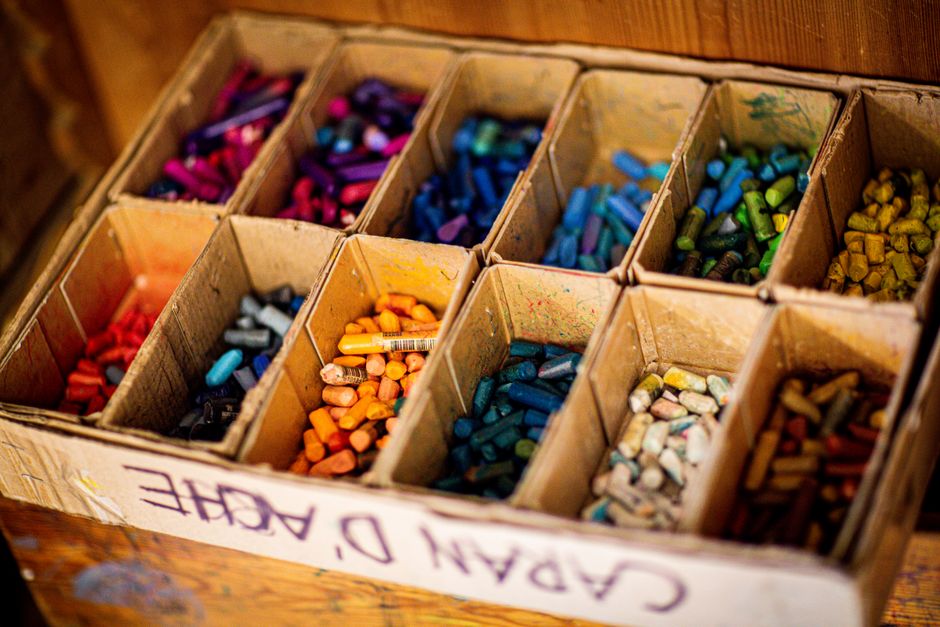
The best type of chalk paint to use for a dresser flip is a high-quality, water-based paint that is specifically designed for furniture. Look for a paint that is easy to use, dries quickly, and has good coverage.
How do I prepare my dresser for a chalk paint dresser flip?
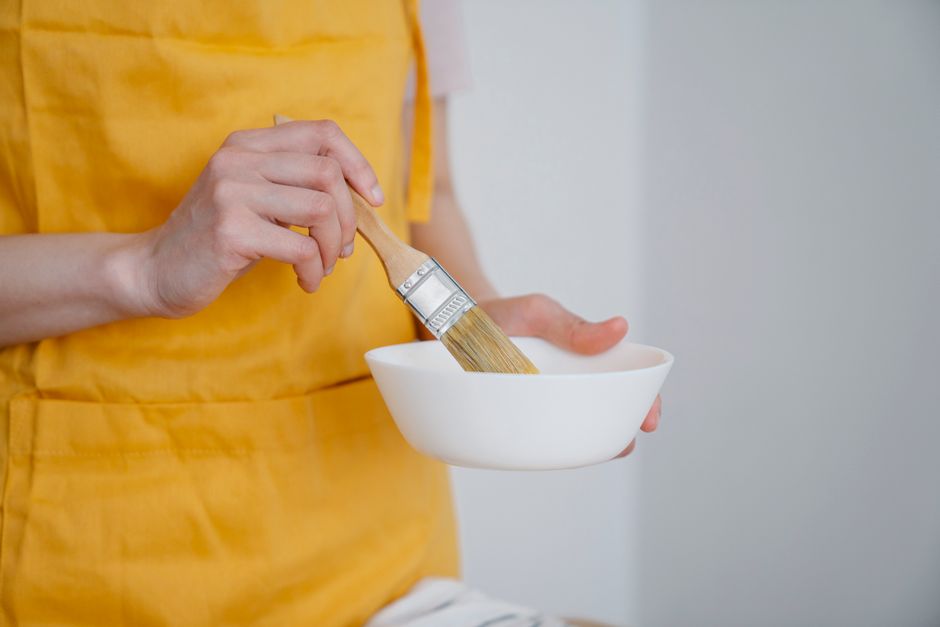
To prepare your dresser for a chalk paint dresser flip, make sure it’s clean and free of dust and debris. Remove any hardware, such as knobs or handles, and set them aside. If your dresser has a glossy finish, you may need to sand it lightly to create a surface for the chalk paint to adhere to.
Can I use chalk paint on any type of dresser?
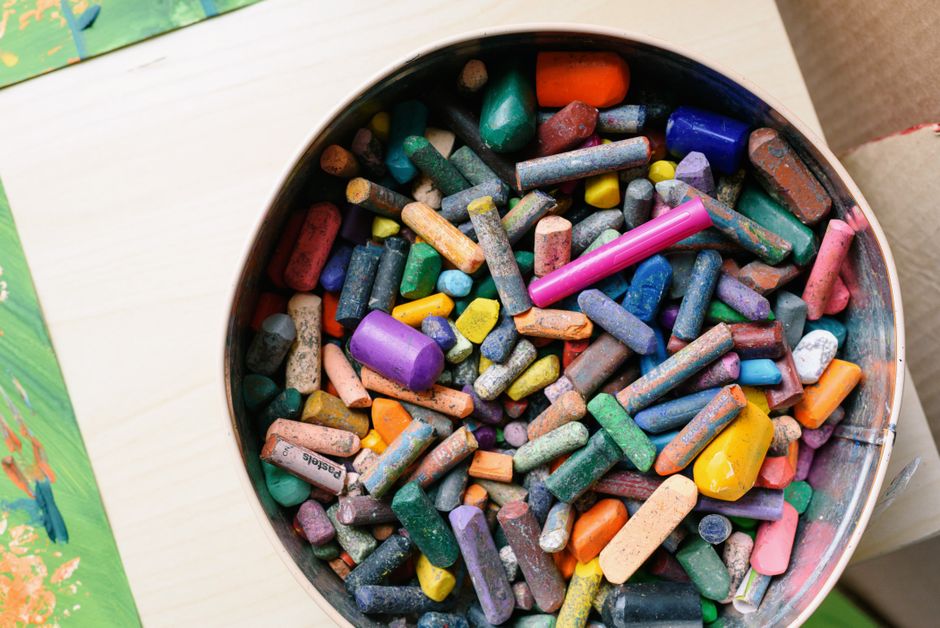
Yes, you can use chalk paint on most types of dressers, including wood, metal, and laminate. However, it’s always a good idea to read the manufacturer’s instructions and test the paint on a small area first to make sure it adheres well and doesn’t damage the surface.
Conclusion
A chalk paint dresser flip is a fun and easy DIY project that can give your old dresser a fresh new look. With the right materials and tools, you can create a unique and personalized piece of furniture that reflects your style and personality. Remember to always follow the instructions and safety precautions, and don’t be afraid to get creative with your design. Happy painting, and enjoy your newly flipped dresser!
Key takeaways from this tutorial on chalk paint dresser flip include:
- Prepare your dresser properly before painting
- Use high-quality chalk paint and apply it according to the manufacturer’s instructions
- Seal the paint with a clear coat to protect it and ensure it lasts
By following these tips and techniques, you can achieve a beautiful and professional-looking chalk paint dresser flip that you’ll love for years to come.