Transform Your Space with a Chalk Paint Iron Bed: A Beginner’s Guide
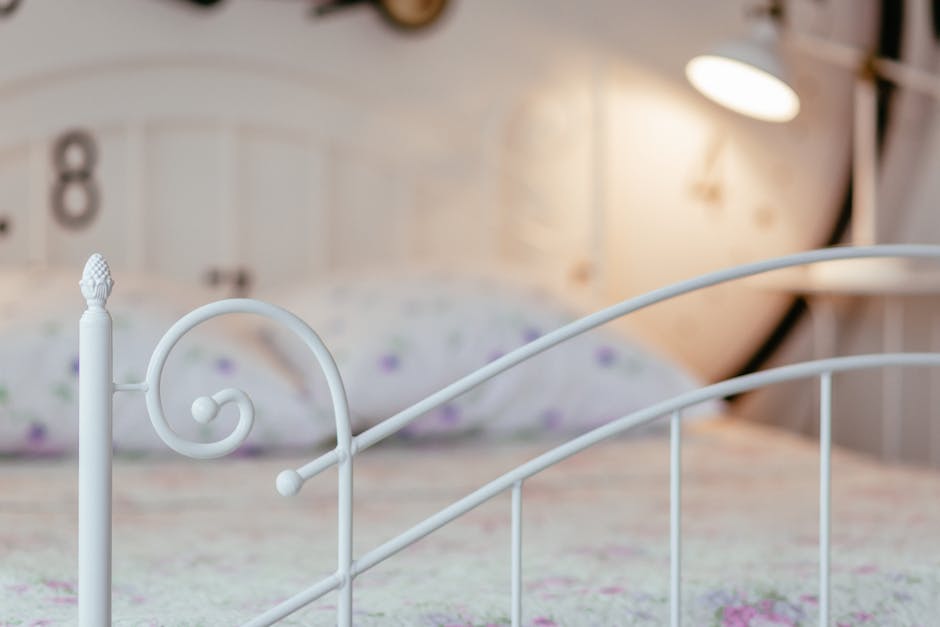
Are you ready to breathe new life into your old, rusty iron bed? With the magic of chalk paint, you can easily upcycle your iron bed and give it a stunning makeover. In this article, we’ll take you through a step-by-step guide on how to give your iron bed a beautiful transformation using chalk paint. The process is easier than you think, and the result is a unique, one-of-a-kind piece of furniture that reflects your personal style. So, let’s dive into the world of chalk paint iron bed upcycling and explore the endless possibilities.
Introduction to Chalk Paint: The Ultimate Game-Changer for Iron Beds
Before we begin, let’s talk about the star of the show: chalk paint. This incredible paint is specifically designed for furniture restoration and is a game-changer for DIY enthusiasts. It’s easy to use, dries quickly, and doesn’t require any primer or sanding, making it perfect for upcycling an old iron bed. With chalk paint, you can achieve a professional-looking finish without the hassle of extensive preparation.
Preparing Your Iron Bed for a Chalk Paint Makeover

Before you start painting, it’s essential to prepare your iron bed. This includes cleaning it thoroughly with a wire brush to remove any dirt, grime, or rust. You should also remove any hardware, such as knobs or handles, to prevent them from getting in the way of the paint. This step is crucial in ensuring a smooth, even finish.
Cleaning the Iron Bed: A Crucial Step in the Chalk Paint Process
To clean the iron bed, you’ll need a wire brush and some soap and water. Scrub the entire bed, paying special attention to any areas with heavy rust or grime buildup. Rinse the bed thoroughly with water and let it dry completely before moving on to the next step. This will ensure that your chalk paint adheres evenly and lasts longer.
Removing Hardware: A Simple yet Essential Step

If your iron bed has any hardware, such as knobs or handles, you’ll need to remove them before painting. This will prevent the paint from getting stuck in the hardware and will make it easier to paint the bed. Set the hardware aside and make sure to label it so you can put it back in the right place later. This attention to detail will make a big difference in the final result.
Applying Chalk Paint to Your Iron Bed: Bringing Your Vision to Life
Now that your iron bed is clean and hardware-free, it’s time to start painting. Apply a thin layer of chalk paint to the entire bed, using a brush to get into any small crevices or details. Let the paint dry completely before applying a second coat. This will ensure a beautiful, even finish that will last for years to come.
Choosing the Right Color for Your Chalk Paint Iron Bed

When it comes to choosing a color for your iron bed, the options are endless. You can choose a bold, bright color to make a statement, or a more subdued color to blend in with your bedroom decor. Consider the style of your bedroom and the colors you’ve already used when choosing a color for your iron bed. Remember, the chalk paint iron bed is a reflection of your personal style, so have fun and get creative!
Tips and Tricks for Upcycling an Iron Bed with Chalk Paint

Here are a few tips and tricks to keep in mind when upcycling an iron bed with chalk paint:
* Make sure to use a high-quality chalk paint that’s specifically designed for furniture restoration.
* Apply thin layers of paint, allowing each layer to dry completely before applying the next.
* Use a brush to get into small crevices and details.
* Consider adding a clear coat to protect the paint and make it easier to clean.
Frequently Asked Questions About Chalk Paint Iron Bed

Here are a few frequently asked questions about upcycling an iron bed with chalk paint:
Q: What is chalk paint and how does it work?
A: Chalk paint is a type of paint that’s specifically designed for furniture restoration. It’s easy to use, dries quickly, and doesn’t require any primer or sanding.
Q: Do I need to sand my iron bed before applying chalk paint?
A: No, you don’t need to sand your iron bed before applying chalk paint. This is one of the benefits of using chalk paint – it can be applied directly to the metal without any primer or sanding.
Q: How long does it take for chalk paint to dry?

A: Chalk paint typically dries within 15-30 minutes, depending on the temperature and humidity of the room.
Q: Can I use chalk paint on other types of metal furniture?
A: Yes, you can use chalk paint on other types of metal furniture, such as patio furniture or metal decor.
Q: How do I care for my chalk paint iron bed?
A: To care for your chalk paint iron bed, simply dust it regularly with a soft cloth and avoid using any harsh chemicals or abrasive cleaners.
Conclusion: Unlock the Potential of Your Chalk Paint Iron Bed

Upcycling an old iron bed with chalk paint is a fun and easy DIY project that can give your bedroom a fresh new look. With these simple steps and tips, you can transform your old iron bed into a beautiful piece of furniture that will last for years to come. So why not give it a try? Grab some chalk paint and get creative! Remember, the key to a successful chalk paint iron bed upcycling project is to have fun and be patient. Don’t be afraid to experiment and try new things – and most importantly, enjoy the process of creating something unique and beautiful.
Key takeaways:
* Chalk paint is a great option for upcycling an old iron bed.
* Preparing your iron bed for chalk paint is essential for a smooth finish.
* Applying thin layers of paint and using a brush to get into small crevices and details is crucial for a professional-looking finish.
* Consider adding a clear coat to protect the paint and make it easier to clean. With these tips and tricks, you’ll be well on your way to creating a stunning chalk paint iron bed that reflects your personal style and adds a touch of elegance to your bedroom.